1)コードを追加する
「ShotShell」スクリプトの中にコードを追加します。
下記の中で<追加>と書かれている部分のコードを記載しましょう。
using UnityEngine;
using System.Collections;

public class ShotShell : MonoBehaviour {

	public GameObject shellPrefab;
	public float shotSpeed;
	public AudioClip shotSound;

	// ★追加
	public int shotCount;

	void Update () {

		if(Input.GetButtonDown("Fire1")){

			// ★追加 returnの働きがポイント!
			if(shotCount < 1)
				return;

			Shot();

			AudioSource.PlayClipAtPoint(shotSound, transform.position);

			// ★追加 shotCountの数値を1ずつ減らす。
			shotCount -= 1;
		}

	}

	public void Shot(){

		GameObject shell = Instantiate(shellPrefab, transform.position, Quaternion.identity) as GameObject;

		Rigidbody shellRigidbody = shell.GetComponent<Rigidbody>();

		shellRigidbody.AddForce(transform.forward * shotSpeed);

		Destroy(shell, 2.0f);
	}
}
コードの追加ができたらチェック。
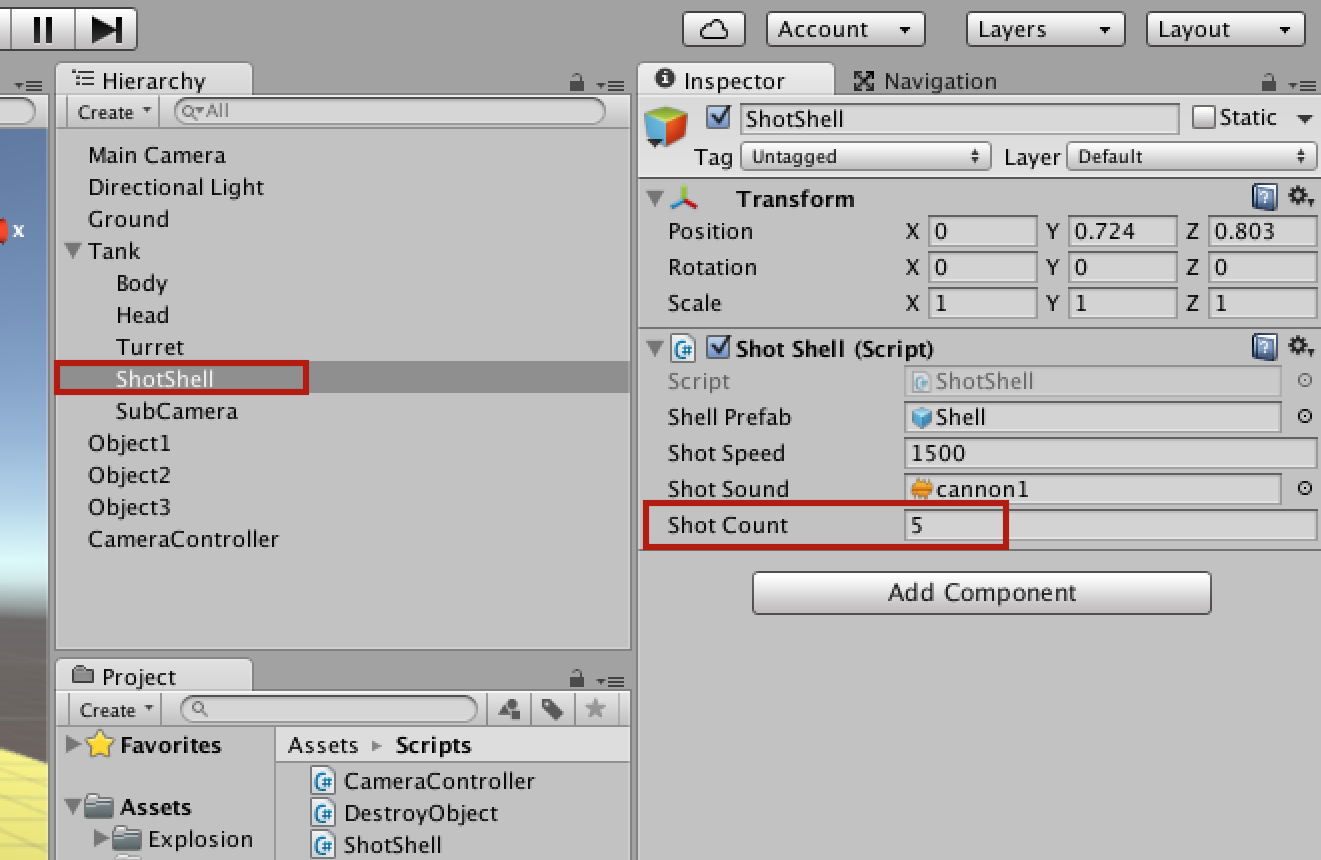
・「Shot Count」に好きな数字を入れてください。この数字が発射できる「砲弾数」になります。
設定が完了したら再生ボタンを押して砲弾を発射してみましょう。
設定した回数だけ発射すると弾切れになったら成功です。
2)returnの働きを覚える
if(shotCount < 1)
return;
を書く位置を下記のように変えてみましょう。
using UnityEngine;
using System.Collections;

public class ShotShell : MonoBehaviour {

	public GameObject shellPrefab;
	public float shotSpeed;
	public AudioClip shotSound;

	public int shotCount;

	void Update () {

		if(Input.GetButtonDown("Fire1")){

			// ★追加 returnの働きがポイント!
			// //を書いてコメントアウトする。
			//if(shotCount < 1)
			//	return;

			Shot();

			// ★★この場所に書いてみましょう!
			if(shotCount < 1)
				return;

			AudioSource.PlayClipAtPoint(shotSound, transform.position);

			shotCount -= 1;
		}

	}

	public void Shot(){

		GameObject shell = Instantiate(shellPrefab, transform.position, Quaternion.identity) as GameObject;

		Rigidbody shellRigidbody = shell.GetComponent<Rigidbody>();

		shellRigidbody.AddForce(transform.forward * shotSpeed);

		Destroy(shell, 2.0f);
	}
}
変更できたら、チェックをかけて再生してみましょう。
今度はどうなるかを実際に自分で確かめてください。
「return」の含まれたコードを書く場所によって「違い」があったと思います。
if(shotCount < 1)
return;
ここから「return」がどんな働きをしているのかを考えてみましょう。
・確認できたらreturnの書く位置を元に戻してください。
(サイト紹介)