まずは「C#Script」で「Ball」の台本を作っていきます。
・「Assets」の余白を右クリック→「Create」を選択→「C# Script」を選択してクリック
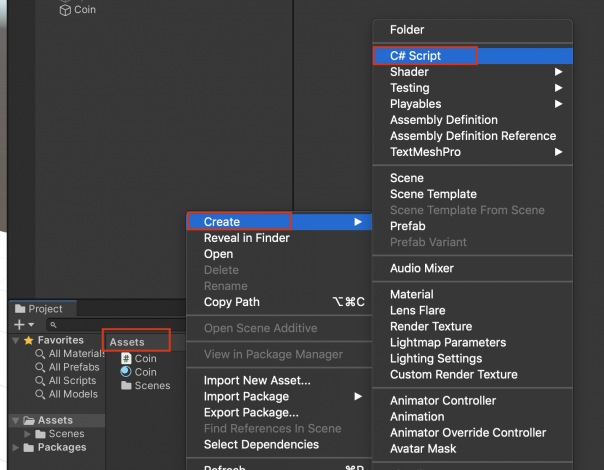
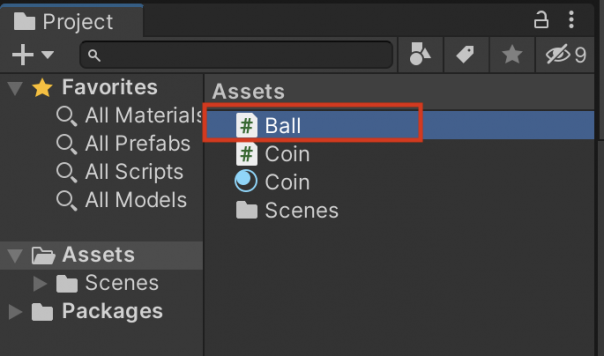
・名前を「Ball」に変更する
・下記のお手本どおりにコードを書いてみよう
using System.Collections;
using System.Collections.Generic;
using UnityEngine;

public class Ball : MonoBehaviour
{
    public float speed;
    private Rigidbody rb;

    // Start is called before the first frame update
    void Start()
    {
        rb = GetComponent<Rigidbody>();
    }

    // Update is called once per frame
    void Update()
    {
        float moveH = Input.GetAxis("Horizontal");
        float moveV = Input.GetAxis("Vertical");
        Vector3 movement = new Vector3(moveH, 0, moveV);
        rb.AddForce(movement * speed);
    }
}
(間違えやすいポイント)
・大文字、小文字に注意しよう!
・「Input」(読み方;インプット)の先頭は、大文字の「I」(アイ)
(覚えておこう!)
・「public」で記載したもの(今回だと「speed」)は「Inspector」で変更できる。
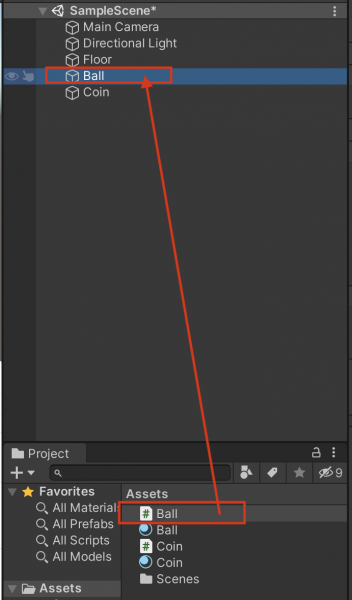
・Ballスクリプトができたら、Ballオブジェクトにドラッグ&ドロップしよう。
・「Inspector」で「Ball(Script)」が適用されていることを確認しよう。
・「Speed」が「0」になっていますので、この数字をいろいろ変えてみましょう。

・ここまでできたら、実行ボタンを押してみましょう。
・パソコンのキーボードの矢印(←↑↓→)を押してみてください。押した方向にボールが動けば成功です。

