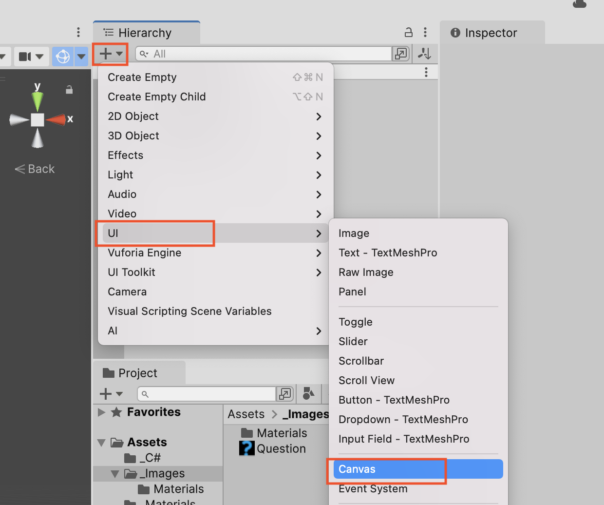
(UIの準備)
- 「+」→「UI」→「Canvas」をクリック
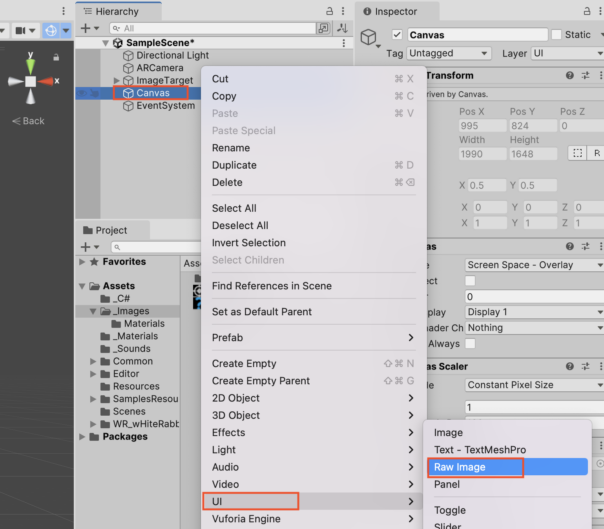
- 作成したCanvasオブジェクトを選択した状態で右クリック(重要)
- 「UI」→「Raw Image」をクリック
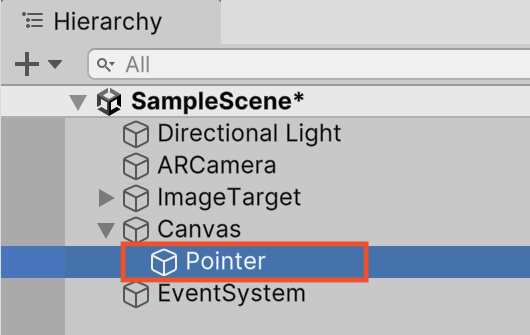
- 名前を「Pointer」に変更
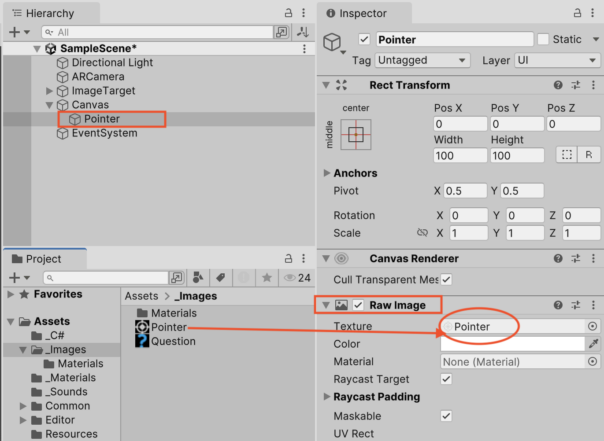
(画像の設定)
- 使用したい画像をUnityにインポート
- 画像を「Texture」の空欄に追加
- Canvas上に画像が反映されているのを確認しましょう。

(画像をマウスで操作できるようにする)
- 新規にC#スクリプトの作成
- 名前を「CursorManager」に変更
- 下記のコードを書いてチェック
using UnityEngine;

public class CursorManager : MonoBehaviour
{
    // Start is called once before the first execution of Update after the MonoBehaviour is created
    void Start()
    {

    }

    // Update is called once per frame
    void Update()
    {
        // 用意した画像をマウスで操作する
        this.gameObject.transform.position = Input.mousePosition;
    }
}
(実行確認)
- スクリプトをPointerオブジェクトに追加
- ゲームを再生
- 画像をマウスで操作できれば成功です。
(デフォルトのカーソルを消したい場合のサンプルコード)
using UnityEngine;

public class CursorManager : MonoBehaviour
{
    // Start is called once before the first execution of Update after the MonoBehaviour is created
    void Start()
    {
        // ★追加(カーソル非表示)
        Cursor.visible = false;
    }

    // Update is called once per frame
    void Update()
    {
        // 用意した画像をマウスで操作する
        this.gameObject.transform.position = Input.mousePosition;
    }
}
(コメント)
*Unity6 + Macにおいて、このコードではカーソルは非表示にならない(Unityのバグの可能性あり)