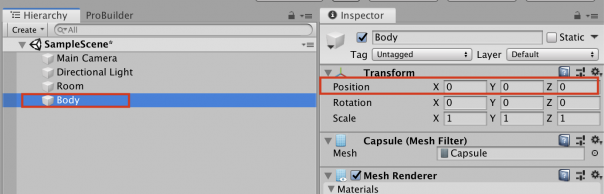
<体部分の作成>
- 新規に「Capsule」を作成

- 名前を「Body」に変更
- Positionは「0,0,0」に設定
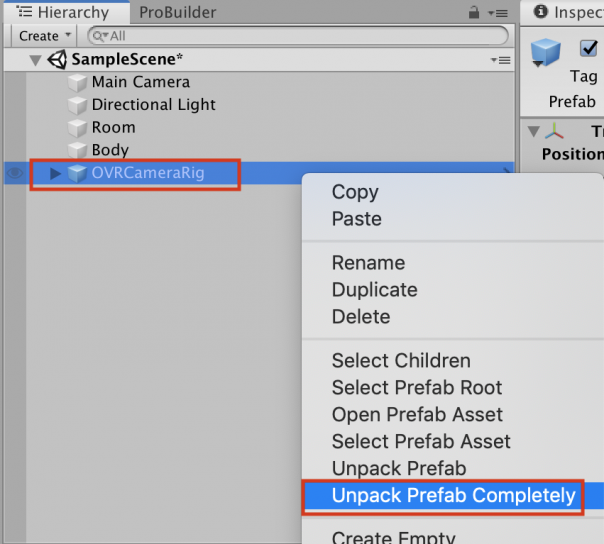
<頭部分の作成>
- 「OVRCameraRig」を1つ設置
- 右クリック→「Unpack Prefab Completely」をクリック
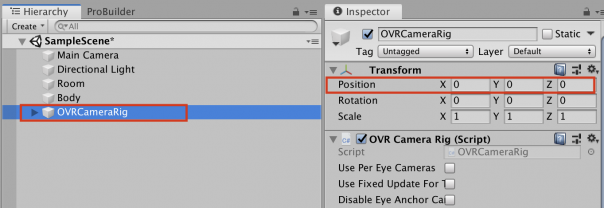
- 「Position」は「00,0,」に設定
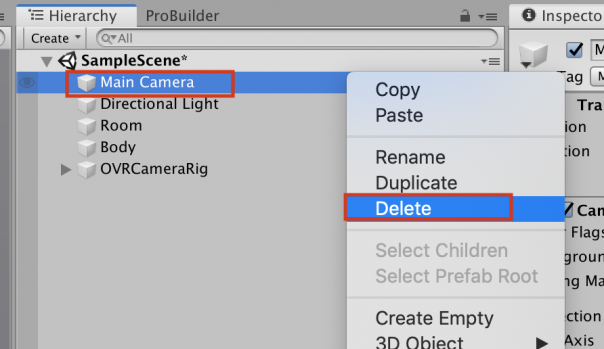
- 「Main Camera」は使用しないので削除
<親子関係で体と頭を一体化>
- 新規に「Create Empty」を作成
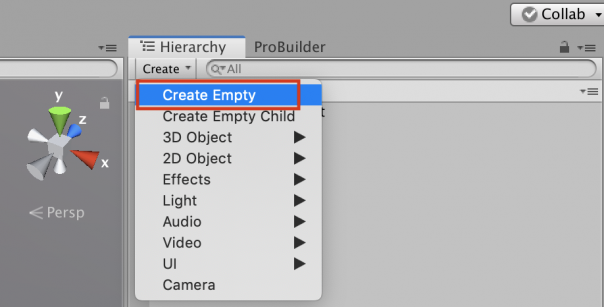
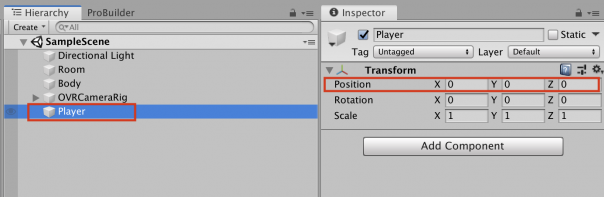
- 名前を「Player」に変更
- 「Position」は「0,0,0」に設定
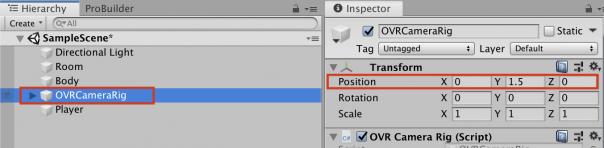
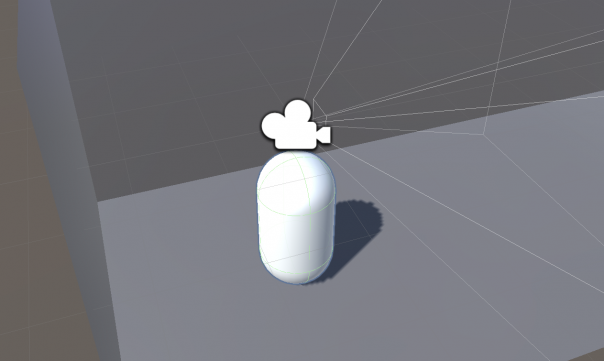
- 「OVRCameraRig」の「Position Y」を「1.5」に変更
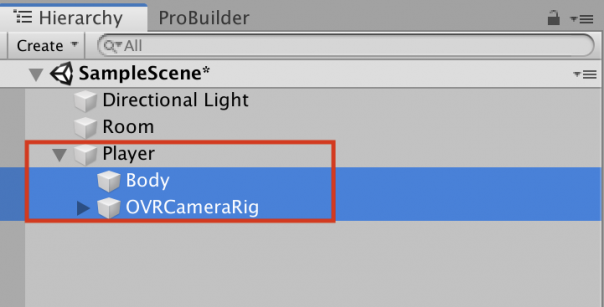
- 「Body」と「OVRCameraRig」を「Player」の子供に設定
- 「Player」の「Position Y」を「-1.5」に変更

- 地面に設置していることを確認
<Playerを動かす>
(スクリプトの作成)
- 新規にC#スクリプトを作成
- 名前を「PlayerMovement」に変更
- 下記のコードを書いてチェック
using System.Collections;
using System.Collections.Generic;
using UnityEngine;

public class PlayerMovement : MonoBehaviour
{
    public float speed;
    private Vector3 movement;
    private CharacterController controller;

    public GameObject cameraC;
    private Vector3 moveDir = Vector3.zero;
    private float gravity = 9.8f;
    private float moveH;
    private float moveV;

    void Start()
    {
        controller = GetComponent();
    }

    void Update()
    {
        // PC上の動作確認用
        if(Application.isEditor)
        {
            moveH = Input.GetAxis("Horizontal");
            moveV = Input.GetAxis("Vertical");
        }
        // Oculus Quest2で動かす
        else
        {
            moveH = OVRInput.Get(OVRInput.RawAxis2D.LThumbstick).x;
            moveV = OVRInput.Get(OVRInput.RawAxis2D.RThumbstick).y;
        }

        movement = new Vector3(moveH, 0, moveV);

        Vector3 desiredMove = cameraC.transform.forward * movement.z + cameraC.transform.right * movement.x;
        moveDir.x = desiredMove.x * 3f;
        moveDir.z = desiredMove.z * 3f;
        moveDir.y -= gravity * Time.deltaTime;

        controller.Move(moveDir * Time.deltaTime * speed);
    }
}
(設定)
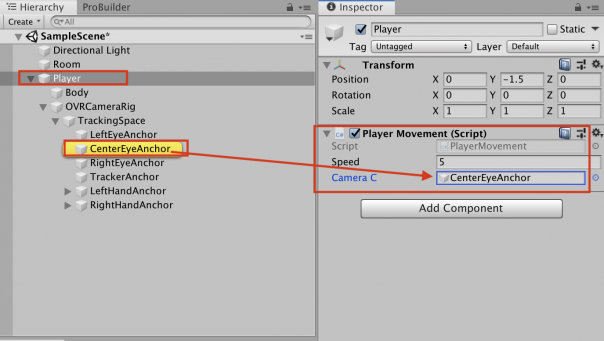
- スクリプトを「Player」に追加
- 「Speed」(移動速度)は自由に設定
- 「CameraC」の空欄には「Center Eye Anchor」を設定
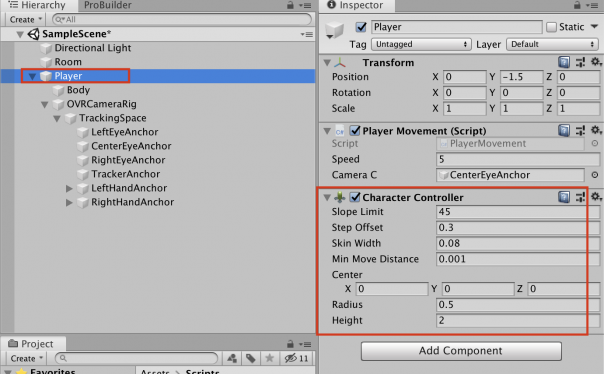
- 「Player」に「Character Controller」コンポーネントを追加する。
(PC上で確認)
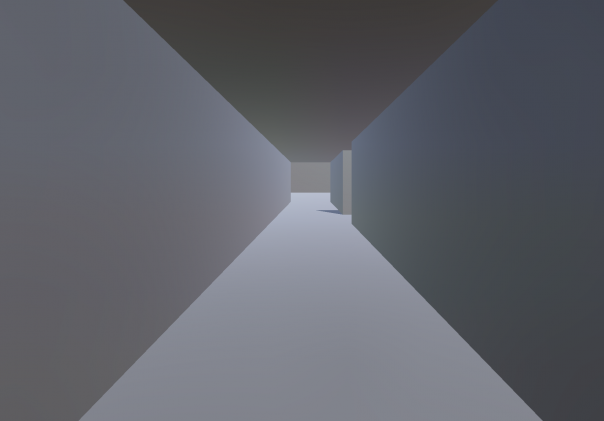
- 設定が完了したらゲーム再生
- キーボドの十字キーで、「前進」「後退」「横カニ歩き移動」ができれば成功です。
(Oculus Quest2で確認)
- Oculus Quest2と繋いで、「Build And Run」
- 左コントローラの親指スティックで「横カニ歩き移動」
- 右コントローラの親指スティックで「前進」「後退」ができれば成功です。